What do I need before I start?
WantasticCore packages the management portal and its supporting services into one container. Prepare a Linux host with Docker, a persistent volume, a public DNS name, and firewall access for the required ports.
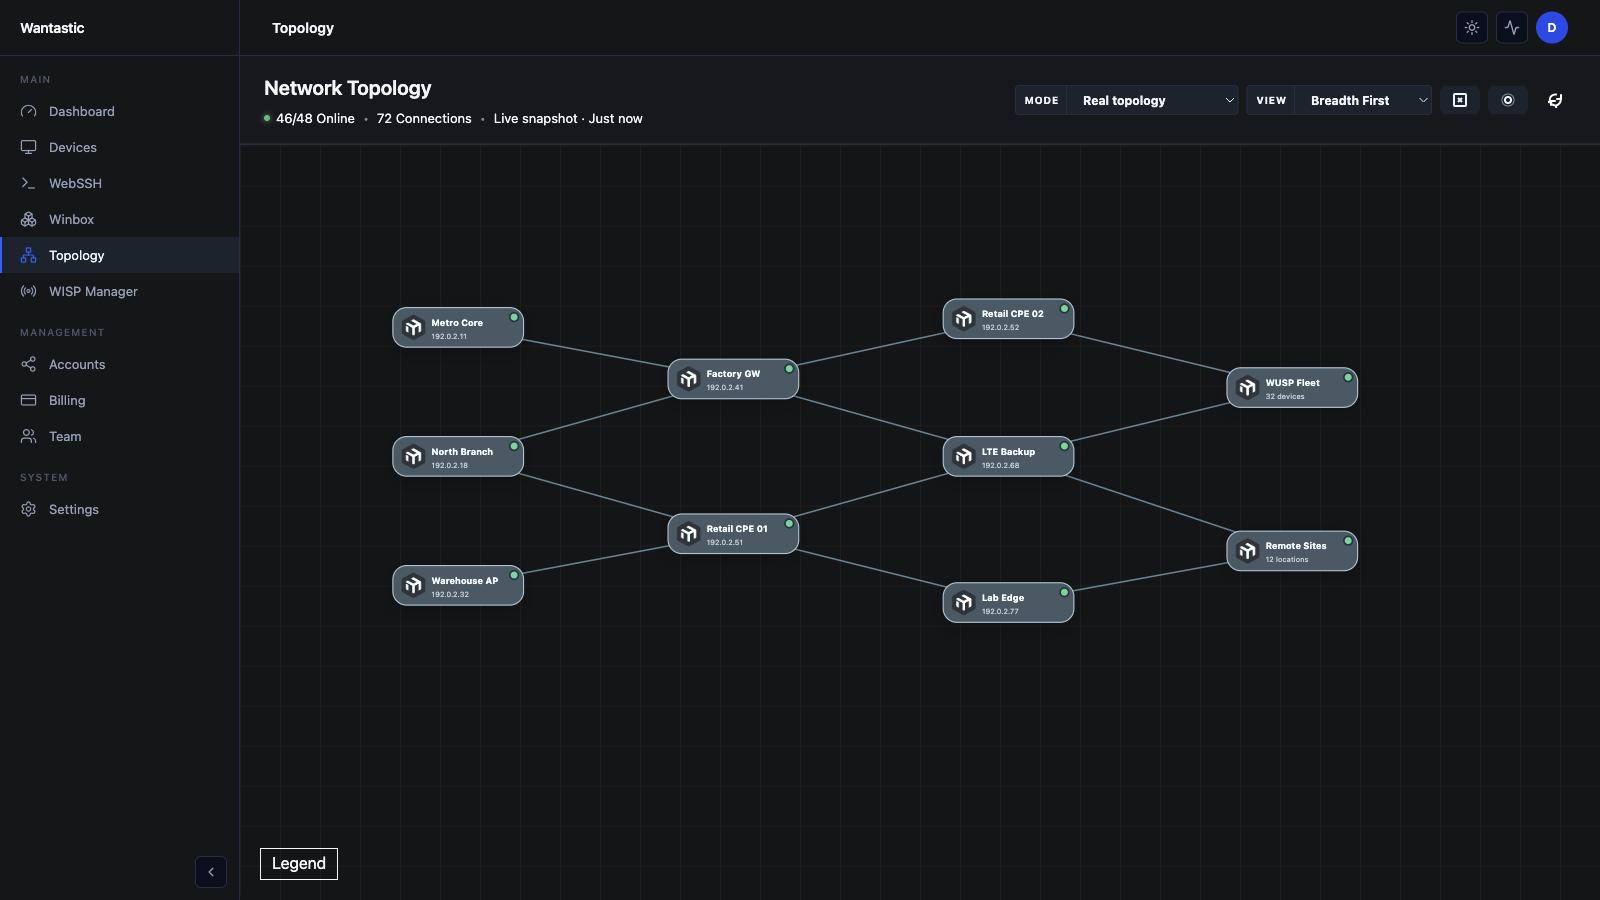 Live beta UI with sanitized demo data
Open these host ports:
| Port | Purpose |
|---|---|
| 80/tcp | ACME HTTP challenge and HTTPS redirect |
| 443/tcp | Portal, setup wizard, and browser tools |
| 8291/tcp | Winbox multiplexer |
| 51820/udp | WireGuard transport |
1. Start the all-in-one container
docker run -d --name wantastic \
  --cap-add NET_ADMIN \
  --restart unless-stopped \
  -p 80:80 \
  -p 443:443 \
  -p 8291:8291 \
  -p 51820:51820/udp \
  -v wantastic-data:/var/lib/wantastic \
  ghcr.io/wantastic-app/wantastic:latest
The named volume is important. It stores configuration, Postgres, Redis, certificates, and logs outside the disposable container layer.
2. Complete the browser setup wizard
Open https://<host>/. A certificate warning is expected on the first boot because nginx uses a bootstrap certificate until setup finishes.
The wizard asks for:
- the base domain and console hostname;
- the Winbox and WireGuard hostnames;
- a Let's Encrypt email;
- whether the container firewall should be enabled;
- the first super-admin account;
- optional SMTP and Copilot credentials.
Before submitting, point the requested DNS records at the host. The wizard writes the production configuration, requests certificates, applies the firewall, and restarts the core in normal mode.
3. Connect a device to your server
For interactive enrollment, point wantasticd at your portal:
curl -sSL https://get.wantastic.app/install.sh | sh -s -- \
  --portal-url https://wantastic.example.com \
  --login
For factory provisioning:
wantasticd genkey \
  --out /etc/wantastic/device-claim-key.json \
  --server-url https://wantastic.example.com
MikroTik RouterOS 7 devices do not need wantasticd. Add them from Devices and use the generated native WireGuard configuration.
4. Verify the deployment
docker logs -f wantastic
docker exec wantastic s6-svstat /run/service/postgres
docker exec wantastic s6-svstat /run/service/wantastic-core
docker exec wantastic s6-svstat /run/service/certbot-renew
Then confirm the portal loads over HTTPS, a device becomes online, the topology renders, and WebSSH or Winbox can reach only the intended endpoint.
5. Back up and operate it
Create database backups outside the container:
docker exec wantastic su-exec postgres \
  pg_dump -U wantastic wantastic > backup.sql
Also back up the wantastic-data volume according to your recovery policy. Test a restore before relying on it, monitor certificate renewal, and keep the host firewall aligned with the four documented public ports.