What is the factory claim workflow?
The manufacturer workflow separates device identity from customer ownership. You create a stable WireGuard identity while building the device, keep the private claim file on the unit, and print only the public claim QR. The customer signs in, scans the label, and assigns the device to their Wantastic team.
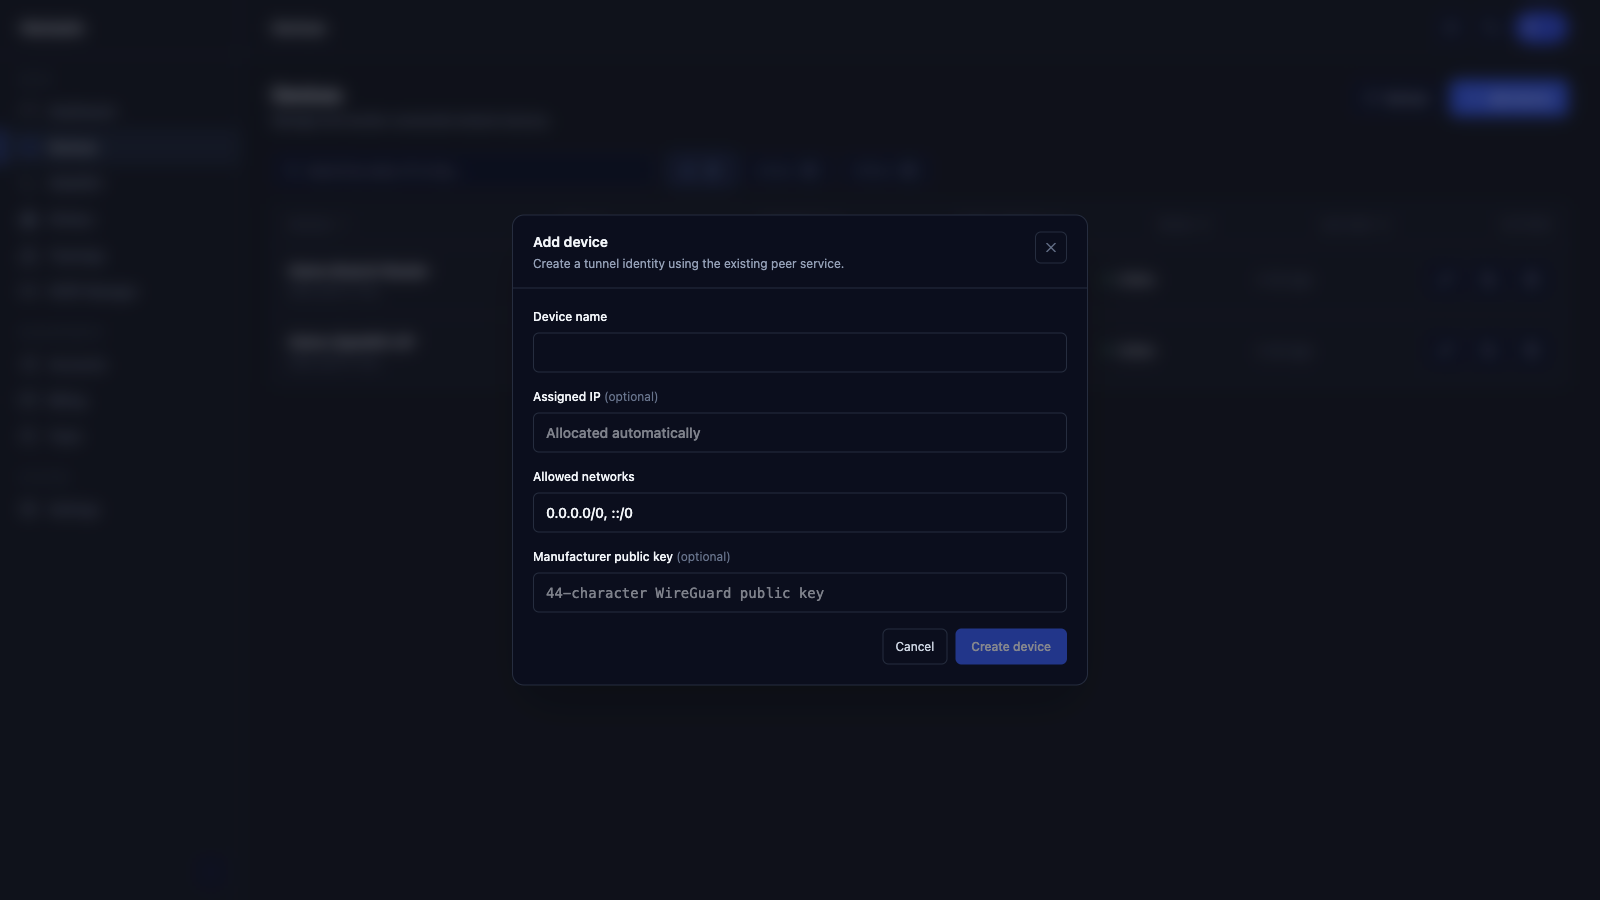 Live beta UI with sanitized demo data
1. Install wantasticd in the golden image
For Linux, OpenWrt, Alpine, and supported embedded Linux systems:
curl -sSL https://get.wantastic.app/install.sh | sh
The installer detects the OS, architecture, and init system. On production images, verify the release and checksum policy used by your factory before freezing the image.
2. Generate one stable claim key per physical device
Run this once during manufacturing:
wantasticd genkey --no-wait \
  --out /etc/wantastic/device-claim-key.json \
  --server-url https://console.wantastic.app
For a self-hosted deployment, replace the server URL:
wantasticd genkey --no-wait \
  --out /etc/wantastic/device-claim-key.json \
  --server-url https://wantastic.example.com
The command writes a private JSON file with restrictive permissions, prints the public key, and generates a claim URL. It reuses the existing file on later runs, so normal reboots do not create a new identity.
Never print the private JSON file or copy it into a shared manufacturing database. The label needs only the public claim URL or QR.
3. Put the public identity on the device record
In Wantastic:
- Open Devices.
- Select Add device.
- Enter a customer-safe device name.
- Leave Assigned IP automatic unless the fleet has an allocation plan.
- Set only the networks the device must reach.
- Paste the 44-character manufacturer public key when using pre-registration.
- Create the device and print the public claim QR on the enclosure or quick-start card.
The QR can be scanned by a signed-in customer. The private half never leaves the device.
4. Let first boot wait for the claim
The normal connected factory flow can wait and continue automatically:
wantasticd genkey \
  --out /etc/wantastic/device-claim-key.json \
  --server-url https://console.wantastic.app
If the key was created earlier, start the agent with the existing identity:
wantasticd connect \
  --claim-key /etc/wantastic/device-claim-key.json \
  --server-url https://console.wantastic.app
After the customer claims the unit, wantasticd receives the final configuration, establishes the management tunnel, and starts its supported WUSP services.
5. Validate every production unit
Before packing the device, confirm:
- the claim file exists and is readable only by the service account or root;
- every physical unit has a different public key;
- the QR opens the intended hosted or self-hosted domain;
- the private key never appears in the label artwork;
- the service starts after reboot;
- a test claim makes the device appear online in Devices;
- removing a test claim does not silently rotate the factory identity.
Use --force only for intentional reprovisioning. Rotating a key after labels have been printed breaks the association between the physical label and the device.